Enough support
Match the buried post length to the fence height, ground and product instructions.
The detail under the fence
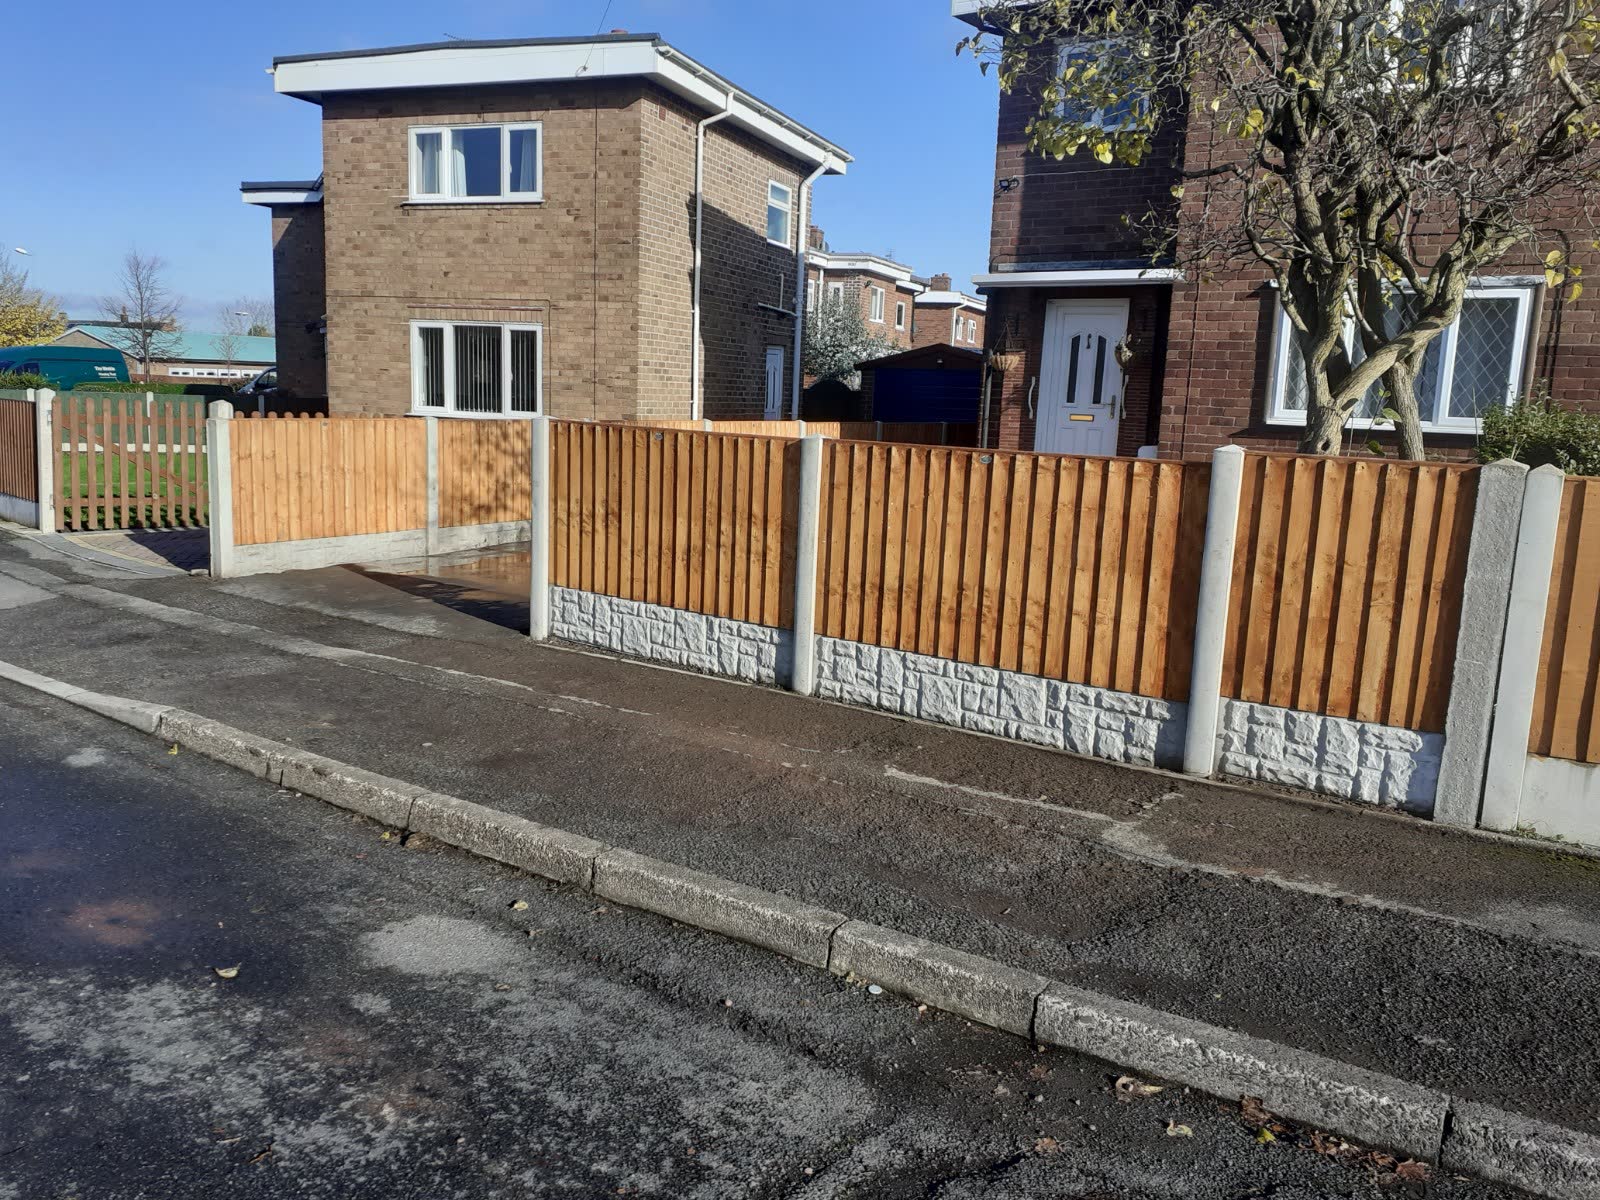
A fence is only as straight and durable as the posts, ground and drainage supporting it. This is the practical standard we look for on a typical home fence. The site and chosen fence system decide the final detail.
01 / The short answer
A 450mm / 1.5ft hole may suit some lower or sheltered fences, but it is not a one-size-fits-all rule. For many 1.8m / 6ft timber runs, 600mm (about 2ft) is a common starting point. Fence height, ground, exposure and the post system can change what is needed, so the real site and maker’s instructions decide.
Extra concrete does not make the wrong depth right. Choose the post, hole and fixing together, and check for buried services before digging.
02 / Two details below ground
The post needs enough depth to support the fence, and rainwater needs a way to drain from the foot of a treated timber post. For some timber posts set in concrete, Wood Protection Association guidance describes gravel beneath the post and a concrete top shaped so water runs away. The product instructions and real site decide the detail; other post systems differ.
Simple distinction: drainage gravel is not extra post depth. Keep the support needed below ground for the chosen fence system.
Match the buried post length to the fence height, ground and product instructions.
Where the timber system calls for it, use a suitable drainable base and slope the concrete top away from the post.
Confirm the line and check for underground services before holes or machinery are used.
Remember: the buried post provides support; any gravel layer is there to help drainage. Do not count gravel as the post depth unless the chosen system’s instructions specifically say to.
03 / The sequence
Check where the fence will run, where gates go and how the ground changes before work starts.
Posts and panel centres need to suit the fence height, material and chosen system.
Look for underground cables and pipes before digging. If you are unsure, stop and get the right checks done.
Use the depth and width the real fence needs. If the ground is too hard, prepare the hole rather than damaging the post.
Check the post in both directions and support it while the fixing material sets. Shape the top so rainwater runs away.
Fit panels, rails, gravel boards and gates to the agreed layout, then check the line and leave the area tidy.
04 / Compare more than the panel
Support that suits the fenceA fixed 1.5ft depth will not suit every fence; the post, height, ground and instructions matter.
A way for water to drainThe base and top finish should suit the post material and system, not trap water against timber.
A straight, checked linePost positions, levels and gate openings are checked before the panels go in.
A written quoteHeight, materials, gates, removal, access, payment stages and guarantee terms are agreed before booking.
Compare the right things
Send the postcode, photos and rough length. We will explain the material, support and available access before asking you to agree a deposit.
Request a written quote ↗05 / The simple version
A lasting fence starts with the right posts, enough support for the height and ground, a drainable base, a straight line and a tidy finish. The exact build changes with the product and the property, so the real boundary is always checked before the final quote.
For the background principles, read the Wood Protection Association guidance, the Jacksons timber post instructions and the HSE guide to digging safely.