Fence height and system
A tall solid fence, a gate or a different post system can need a different support detail. The post must leave the right height above ground as well as enough support below it.
Installation · UK fencing guidance
There is no honest single number for every fence. Post depth depends on height, post length, ground, wind exposure, fence system and the manufacturer’s instructions.
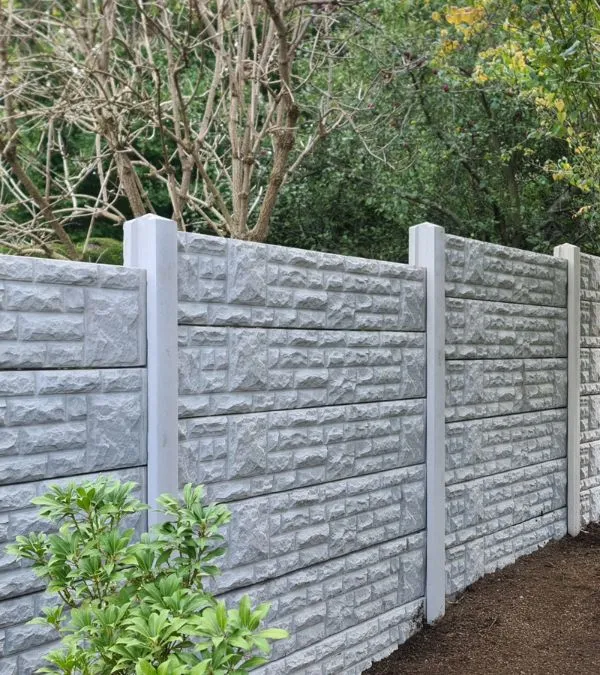
Depth, drainage and the concrete finish work together
The short answer
For many domestic timber panel fences, 450–600mm is a common starting range. Around 600mm is often used for a typical 1.8m / 6ft run, but the fence system, ground and exposure still need checking.
A tall solid fence, a gate or a different post system can need a different support detail. The post must leave the right height above ground as well as enough support below it.
Soft soil, rubble, slopes, waterlogged ground and wind exposure can change the sensible hole and post. A shallow figure should never be treated as a universal answer.
Free-draining gravel or ballast, treated timber and the manufacturer’s instructions belong in the same decision. Drainage detail does not make an unsuitable or damaged post safe.
For many domestic timber panel fences, 450–600mm is a common starting range. Around 600mm is often used for a typical 1.8m / 6ft run, while soft, exposed, sloping or unstable ground may need a longer post and a deeper hole. A 1.5ft hole is not automatically wrong, but it is not a universal answer for a 1.8m fence.
A tall, solid fence catches more wind than a low picket line. A heavy gate creates different forces again. Clay, loose topsoil, rubble, previous concrete, slopes and waterlogged ground can all change the support required. The post needs to be long enough to leave the correct height above ground and the correct support below it.
For a timber post fixed in concrete, the base should allow water to drain away rather than trap the post in a wet concrete boot. The Wood Protection Association’s best-practice guidance describes adding 150mm of gravel to the bottom of the hole; Jacksons’ installation instructions show a minimum 50mm ballast or gravel layer, and general DIY guidance often uses 25mm. Those are not contradictory promises for every system: they show why the product, post treatment and installation method should be checked together.
In other words, gravel is not there to make a shallow hole appear deep. It is a drainable support layer and the amount depends on the method being used.
Pre-treated wood should not be casually reworked. The WPA advises avoiding modification where possible, protecting new cut surfaces with suitable end-grain preservative and using the treated/incised end in the ground as intended. A cross-cut end should not simply be buried because it has been painted.
No single method suits every site. Timber, concrete, metal supports, composite systems, walls, existing paving or concrete and retaining situations have different details. Follow the manufacturer’s instructions and get help if the boundary is tall, exposed, near services or structurally unusual.
Safety first: check the boundary and access rights, look for underground services, wear suitable PPE and do not dig near suspected cables or pipes without appropriate checks. For a difficult or uncertain site, a professional survey is cheaper than rebuilding a failed line.
The installation standard shows the typical sequence and the visual difference between drainage, support and a rushed shortcut. For a live quote, send the postcode, height, rough length and photos of the ground at both ends.